
Completion
Your Custom Home’s Final Walkthrough: What to Check Before Handover
By Rare Builders · Published
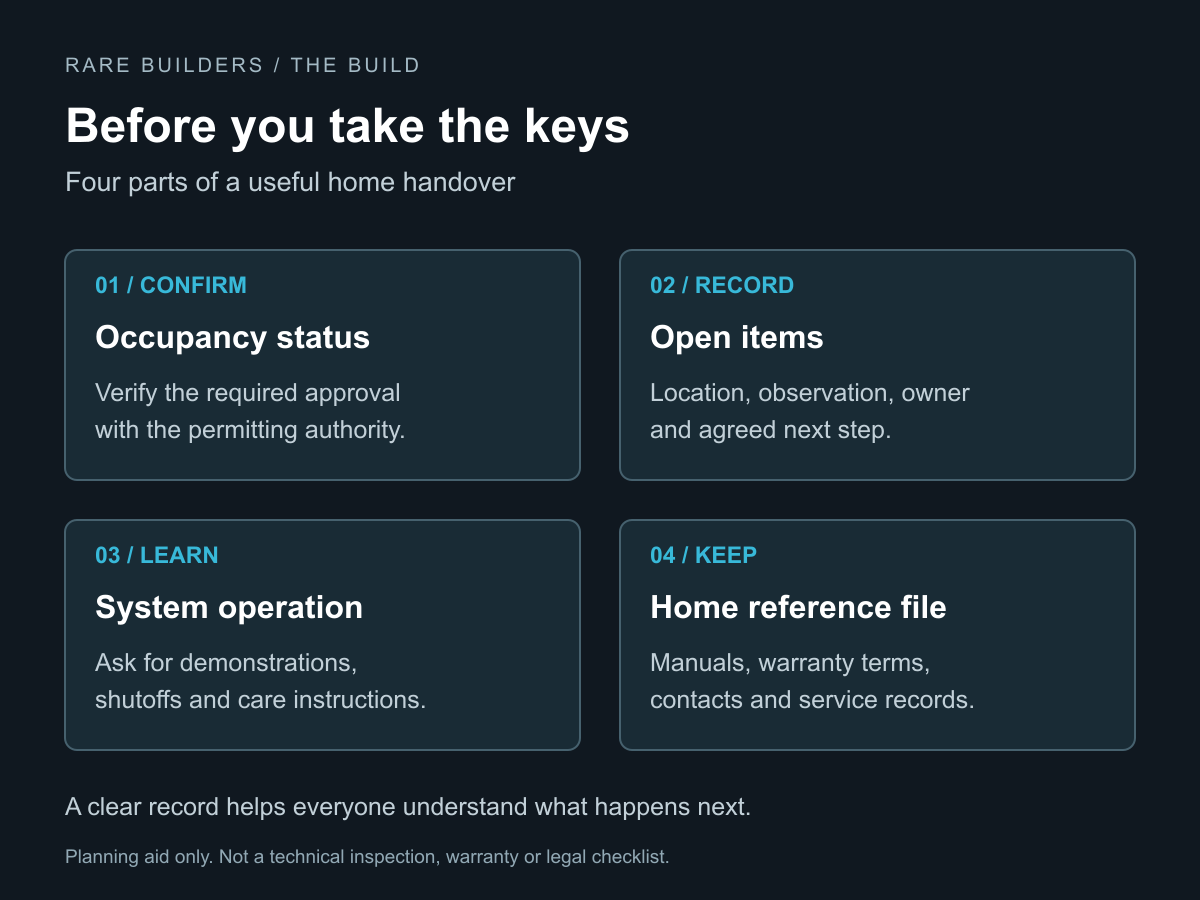
The final walkthrough is your opportunity to look closely at the finished home, learn how its systems work and put remaining questions in writing. Bring project documents alongside your walkthrough checklist so you can compare what you see with the agreed work.
For an Orlando or Winter Park custom home, prepare around three outcomes: a clear record of unfinished items and questions, a usable set of home records, and confidence about what happens after you receive the keys. These are useful topics to raise early with your Winter Park custom home builder.
Confirm what this appointment will cover
Ask whether the visit is a preliminary punch-list walkthrough, the homeowner orientation, the handover appointment or a combination. Those visits can serve different purposes, and your contract should guide the project’s completion and acceptance requirements.
Confirm who will attend, which systems will be available for demonstrations and how observations will be recorded. If you plan to use an independent home inspector, coordinate access in advance. A homeowner walkthrough does not replace a professional inspection or the building department’s inspections.
Bring the current plans, approved selections, change orders and any existing list of open items. Keep them available on a tablet or in a compact folder so questions can be checked against the actual project documents.
Separate occupancy paperwork from the punch list
A certificate of occupancy, commonly called a CO, is part of the permitting process. Your punch list records specific items that need review, correction or completion under the project agreement. Keep both records so you can see the status of required approvals alongside the remaining project items.
The City of Orlando permit guidance directs owners to confirm that permit status is final after inspections are completed and passed. It also explains how to request a copy of the certificate of occupancy or certificate of completion.
Winter Park’s residential permitting guide lists several closeout requirements, including completed subcontractor permits and departmental final inspections, approved revisions, completed landscaping and paid outstanding fees. Confirm the current requirements for your permit with the city.
Ask which jurisdiction issued your permit, what approvals remain and where the final records will be stored. Do not assume an Orlando or Winter Park mailing address identifies the permitting authority. Confirm the required occupancy authorization before making move-in arrangements. Any safety or code concern needs prompt review, rather than routine placement among cosmetic touch-ups.
Walk each room in the same order
Use a repeatable route: entry door, walls and ceiling, windows, cabinetry, fixtures, then flooring. This makes it easier to notice omissions without bouncing between rooms.
Compare installed finishes and fixtures with the approved selections. The custom home selections checklist can help you organize those records. Open accessible doors, drawers and windows with the builder present. Look for damage, binding hardware, missing accessories and unfinished transitions.
In kitchens and bathrooms, ask for demonstrations of faucets, drains, ventilation and installed appliances. Record a specific observation rather than guessing at its cause. For example, “Water visible inside the sink cabinet during the faucet demonstration” is more useful than “plumbing problem.”
Use normal viewing conditions for finish discussions and refer to the standards in your agreement. Do not climb onto the roof, remove electrical covers or attempt technical testing yourself.
Make each punch-list item easy to resolve
A useful entry gives the team enough information to find the item and understand the next step.
- Location: identify the room and exact component.
- Observation: describe what you saw without assuming the cause.
- Photo: give it a reference that matches the entry.
- Responsibility: record who will review or address it.
- Follow-through: record the agreed next step and how completion will be confirmed.
For example: “Guest bathroom, vanity drawer nearest the door: drawer rubs the adjacent front when closing; photo GB-03; builder to review adjustment and confirm next step.” This is an illustrative entry, not a reported Rare Builders project condition.
Keep observations, agreed corrections and questions awaiting review clearly distinguished. Ask the team to identify urgent concerns separately from finish work and product backorders.
Before leaving, confirm who maintains the master list, how you will receive updates and how access for return visits will work. Record agreed dates rather than assuming every item has the same schedule. Payment, acceptance and any holdback arrangements should follow the contract and appropriate professional advice.
Ask for a home operating lesson
Set aside time for demonstrations, not just a tour of equipment locations. With permission, record short videos that you can revisit later.
Ask the builder or appropriate trade professional to demonstrate the systems installed in your home.
- Main water shutoff and individual fixture shutoffs.
- Electrical panel labels and homeowner-safe reset procedures.
- Thermostat controls, filter locations, filter sizes and maintenance instructions.
- Water-heater controls and applicable operating instructions.
- Irrigation controls and any installed leak-detection equipment.
- Garage-door controls, remotes and manufacturer safety instructions.
For Central Florida homes, also ask how the installed cooling and ventilation equipment should be operated to manage indoor humidity. Follow equipment-specific instructions rather than a universal thermostat setting.
Walk the exterior together. Identify drainage features, downspout discharge points and areas that need to remain clear. Ask before changing grades or adding planting beds that could affect the approved drainage arrangement.
Collect the handover records in one place
Request the documents applicable to your project and confirm who is supplying each one.
- Occupancy documentation and available permit closeout records.
- Final plans and revisions included in your agreement.
- Equipment manuals, model numbers and serial numbers.
- Written builder and manufacturer warranty information.
- Paint colors, finish schedules and care instructions.
- Keys, remotes and secure transfer instructions for connected devices.
- Service contacts and the process for reporting urgent problems.
Clarify which product registrations are needed, who will submit them and what proof you should retain. Do not assume every component has the same coverage or start date. Keep passwords and access codes in a secure location rather than a shared punch-list document.
Understand the first service request before you need it
Read the actual warranty documents for coverage, exclusions, deadlines and reporting instructions. The FTC’s new-home warranty guidance recommends submitting repair requests in writing and keeping correspondence records, even when an urgent-request telephone line is available. It describes general warranty considerations, not the specific terms of your project.
Leave the walkthrough knowing where to send a concern, what information to include and whom to contact urgently. Add the handover appointments and any agreed follow-up visits to your construction timeline.
A well-prepared handover gives you a clear record and the information to care for your home. Use this guide to prepare questions for your builder; it is not a technical inspection, warranty statement or legal checklist.