Systems and Interiors
Before the Walls Close: Your Custom Home’s Pre-Drywall Walkthrough
By Rare Builders · Published
Before drywall gives a custom home its finished rooms, the open walls reveal how the building comes together. Wiring, piping, framing and mechanical routes are visible alongside the provisions for lighting, cabinetry and equipment.
A pre-drywall walkthrough is a useful opportunity to compare that work with the current project documents and raise coordination questions while the relevant areas remain accessible. For an Orlando custom home, approach the visit with three goals: understand what has been reviewed, record what will be concealed and identify anything still awaiting resolution.
Arrange the visit around the actual work
Ask your builder when a walkthrough will be most useful. Different areas may reach readiness at different times, and insulation can conceal conditions before drywall arrives. The builder should coordinate access around active work and the project’s inspection sequence.
Confirm which rooms and systems will be ready to review, who will attend and whether an independent inspector will participate. Follow site-safety instructions, stay within the approved route and leave ladders, electrical testing and technical inspection to qualified professionals.
Bring the latest coordinated plans, relevant interior elevations, approved changes and a short list of unresolved questions. Older drawings can create confusion when an approved revision has already changed the work.
Keep the homeowner review and permit inspections distinct
Your walkthrough provides a setting for questions about the home’s intended use and agreement with the project documents. It does not replace required inspections or a qualified professional’s technical review.
The City of Orlando’s inspection guide lists separate categories for framing, insulation, electrical rough-in and mechanical rough-in, among others. The applicable inspections depend on the project and permit.
Ask which authority issued the permit and have the builder explain the status of inspections relevant to the areas being covered. For City of Orlando projects, inspection guidance explains how to view completed results and notes that failed or partially approved inspections require rescheduling. Confirm results and any required follow-up rather than treating a scheduled appointment as an approval.
Review locations against the finished room
An exposed wall can be difficult to read without imagining the cabinetry, furniture and finishes that will occupy it. Use the current drawings to understand the intended relationships.
Focus the conversation on questions such as:
- Do visible electrical locations agree with the documented furniture and cabinetry layout?
- Have lighting positions been checked against the intended ceiling features?
- Do plumbing locations align with the approved fixture and cabinet information?
- Are planned low-voltage connections accounted for where the documents call for them?
- Where the design requires support for mounted items, has the team confirmed its location and detail?
- Will components requiring maintenance remain accessible after finishes are installed?
Ask the builder to explain anything you cannot identify. A pipe or cable may serve a different room, and an unfinished installation may still have scheduled work ahead.
The purpose is to identify discrepancies for review. Avoid directing trades to relocate work during the visit. A proposed change may affect other systems, drawings, approvals, cost or sequence.
Ask about readiness beyond the rough-ins
Before covering an assembly, the conversation should also address its condition. If you notice damp materials, staining or visible damage, record the location and ask the builder how it will be evaluated.
The Building America Solution Center’s moisture guidance recommends checking material moisture before covering or enclosing it. It also explains that appearance alone can be misleading: some wood discoloration differs from active mold or water damage.
Ask what checks are appropriate for the materials and conditions on your project. Leave diagnosis, testing and corrective work to qualified professionals rather than drawing conclusions from a photograph.
Make the concealed-work record useful
Ask the builder what photographic documentation will be retained and what will be shared with you. As a practical recordkeeping approach, organize images by floor, room, wall and date.
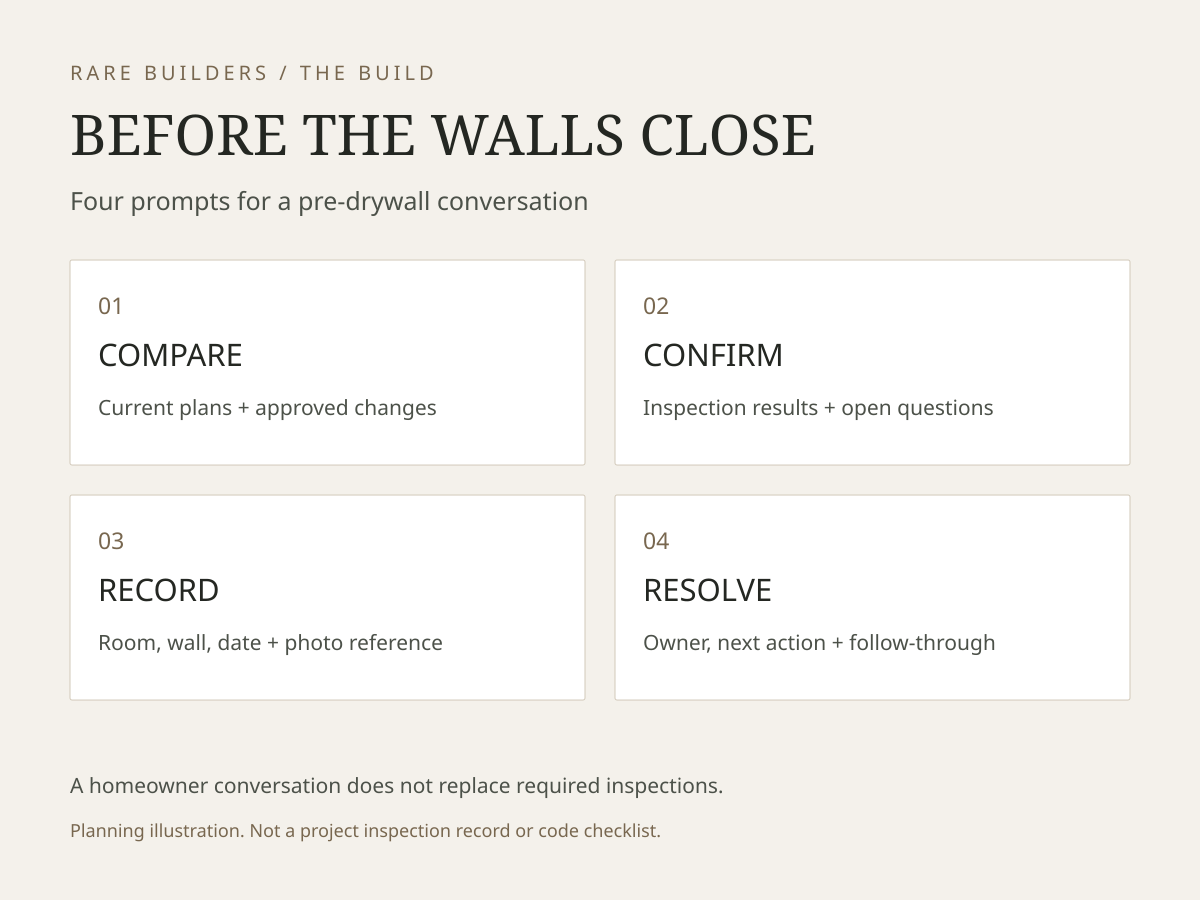
Start with an overview that identifies the room, then capture individual walls and relevant details from safe, accessible positions. Include the drawing revision or note reference where helpful. If the work changes afterward, keep the earlier images but clearly identify the updated record.
Photos can help explain where visible services and supports were located at a particular stage. They are not a complete as-built survey, proof of compliance or a safe guide for later drilling. Concealed conditions still need appropriate verification before future work.
Close each question before it disappears behind a finish
Keep one shared list that separates observations, proposed changes and agreed corrective work. For each item, record its location, relevant drawing or photo, who will review it and the next step.
Before leaving, ask who will confirm resolution and which items must be addressed before the affected area is covered. An answer such as “the electrician is reviewing it” should have an identifiable follow-up, not become the final record.
This checkpoint belongs within the broader sequence described in The Build. Later, the final walkthrough shifts attention to the completed home and handover.
When choosing a custom home builder in Orlando, ask how coordination questions, inspection results and concealed-work records will be communicated throughout construction. The useful outcome is a clear understanding of what is ready, what remains open and who is responsible for the next step.